Start with a small selection
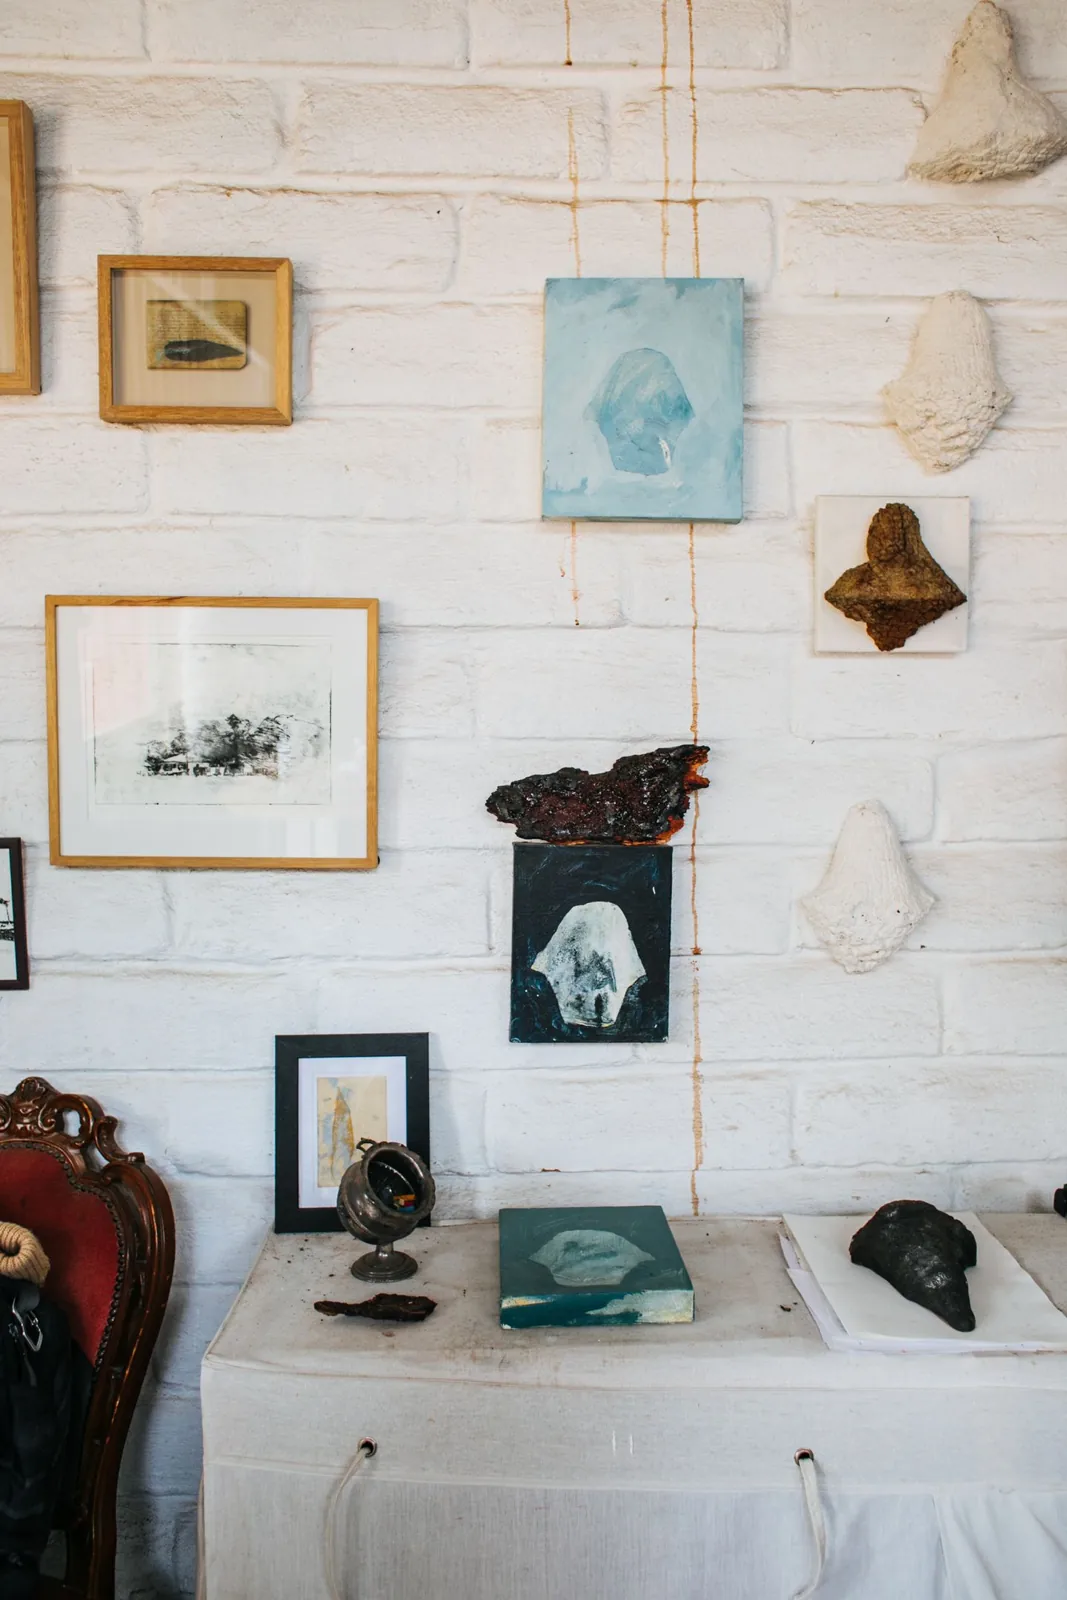
Choose pictures you actually want to look at together rather than gathering every spare frame in the house. Three or four pieces can be enough to make a modest grouping. They might share a colour, a subject or simply a similar quietness. The connection does not need explaining, but it should feel comfortable when the pictures sit beside one another.
Check the condition of frames, glazing and hanging points before planning the wall. A loose back or damaged fitting needs attention first. If a picture is valuable or delicate, seek suitable framing advice rather than improvising. The arrangement should protect what you enjoy, not expose it to damage for the sake of a particular shape.
Arrange the outlines on the floor
Measure the available wall area and mark out that approximate space on the floor. Move the frames around within it, beginning with the largest. Look at the outline of the whole group as well as the spaces between individual pictures. A grouping can be informal while still feeling like a single considered shape rather than several unrelated placements.
Avoid trying to align every edge when the frames differ in size. You might connect the lower edges of two pictures, then let a taller piece establish another line. Keep the gaps reasonably related without becoming obsessed with tiny variations. If you cannot read the arrangement from a few steps away, simplify it by removing one piece and trying again.
Photograph promising versions so you can compare them without repeatedly moving everything back. A quick photograph is useful for remembering a layout, but check the actual frames too. Glazing reflections, texture and colour can make the real grouping feel different from a flattened image on a phone.
Test the group on the wall
Make paper templates of the frame outlines and position them using a method appropriate for the wall finish. This reveals how the group relates to furniture, switches and doorways. Sit in the nearest chair as well as standing in front. A group above a sofa may feel disconnected if it floats too far away from the furniture below.
Notice daylight and direct sun. Sensitive artwork and photographs may need protection from prolonged exposure, and reflective glazing can make a picture difficult to see in some positions. Do not place pieces where door movement, moisture or heat will create predictable problems. The best empty wall is not always the best place for the particular pictures you own.
Install carefully and leave it alone for a while
Use fixings suitable for each frame's weight and the wall construction, checking for concealed services before drilling. Follow any tenancy or building requirements. Adhesive products have specific limits and surface conditions; do not assume they are suitable for every glazed frame. Obtain help where the fixing method is uncertain, especially for heavier pieces.
Once hung, step back and live with the grouping before adding more. It may need only a small adjustment, or no adjustment at all. Resist filling every remaining patch of wall just because the first group went well. A small collection can have more character when it has room around it and the individual images remain easy to enjoy.
Plan the group as one shape, then give the individual pictures enough space to be seen.
A Swishover guide · Practical ideas to adapt to your own home.
Spotted something we should improve?