Separate active work from the supply collection
Craft storage becomes easier when it distinguishes the project being made now from the materials available for future ideas. Gather the current project's fabric, yarn, paper or components into one manageable container, together with the instructions and the tools it genuinely needs. Keep bulk reserves elsewhere. This allows a short session to begin without spreading the entire collection over a table.
Be selective about works in progress. Several active projects can each have a labelled bag or box, but an unlimited row of half-finished kits may hide the one you want to use. Keep a brief note of the next step with a project if it will be paused for a while.
Let the material decide its storage
Paper needs support that prevents curled edges; fabric should be clean and dry; small beads or findings need secure compartments. Follow product guidance for paints, adhesives and other materials with specific storage requirements. Keep labels and warnings intact rather than decanting everything into matching jars. Some supplies require secured access, especially in homes with children or pets.
Avoid forcing very different materials into one type of container. A shallow drawer may suit paper, while upright fabric pieces or a breathable bag may suit another collection. Measure the largest sheet, hoop or cutting mat before choosing furniture. The awkward oversized item often determines the useful shape of a craft cupboard more than the many small supplies.
Make small pieces easy to identify
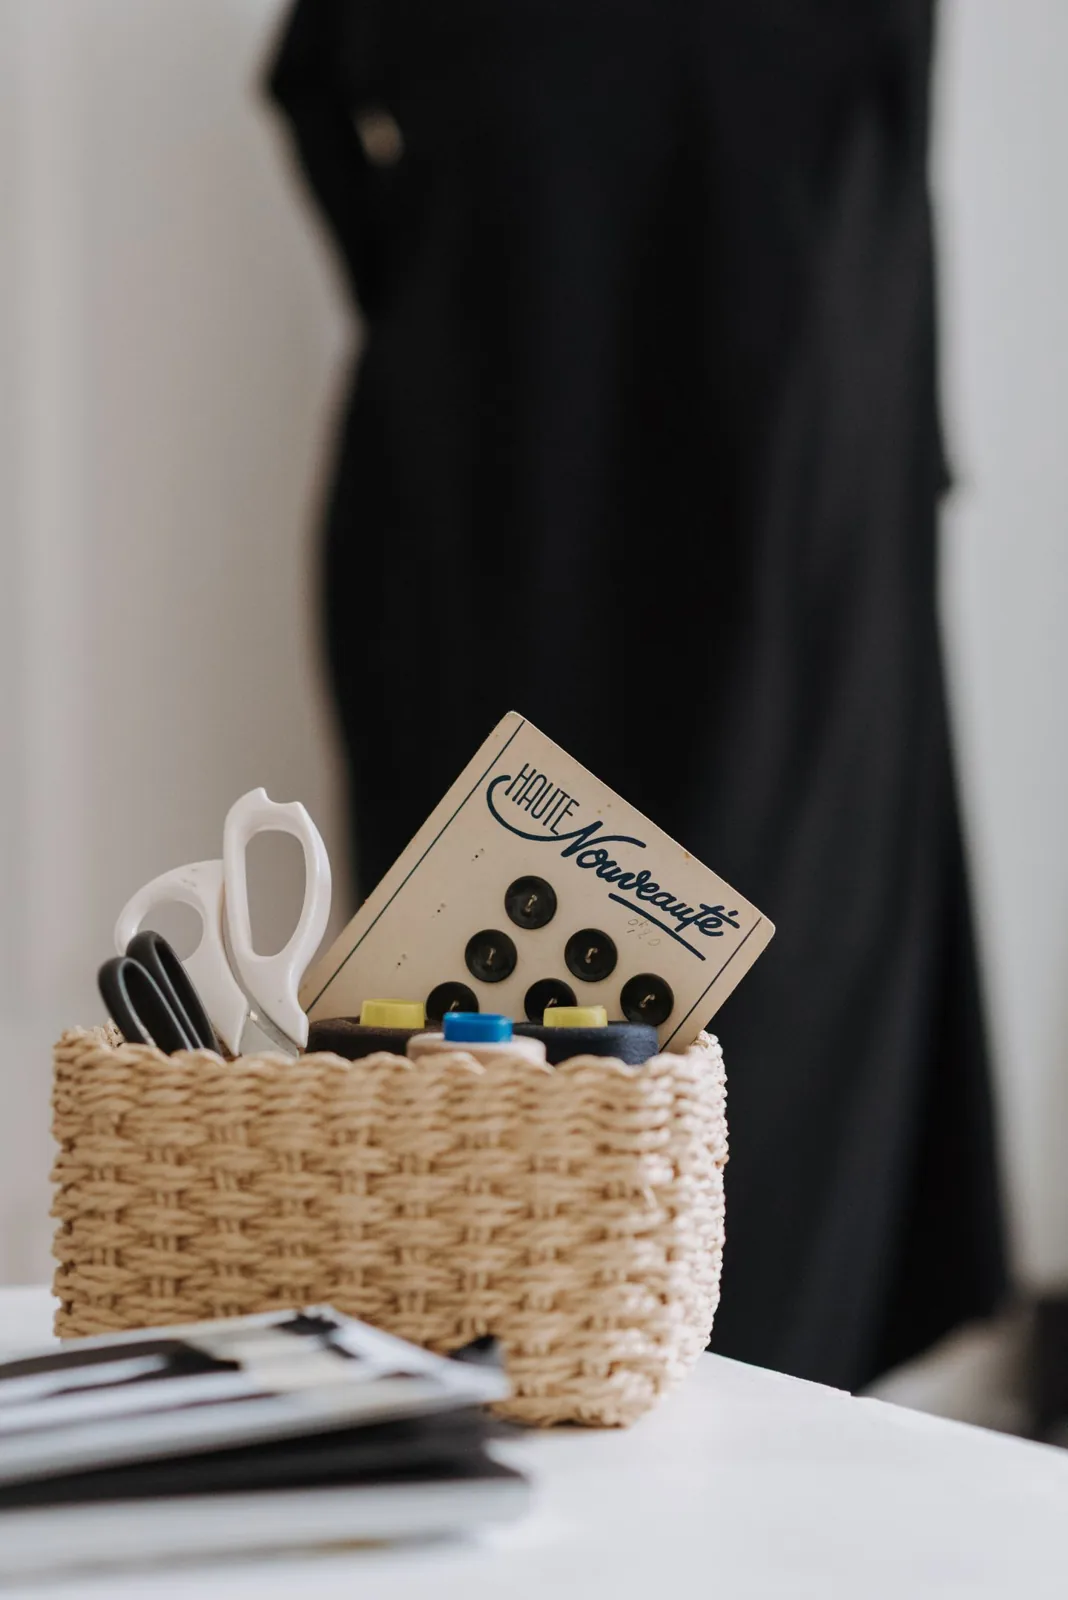
Use clear or labelled compartments for categories that are easily confused. Separate needle sizes, thread types or fasteners only as finely as your work requires. Too much subdivision creates empty space and makes replacing supplies tedious; too little means pouring everything onto the table to find a single piece. Keep sharp tools protected and stored appropriately for the household.
Try to make the label answer a real question. A box marked sewing notions may be sufficient for one person, while someone with a large collection may need zips, buttons and elastic separated. Keep instructions, pattern pieces and any required measurements with the project they belong to, rather than in an unrelated paper pile.
Build a portable working kit
If crafting happens at a shared table, a tray or project box can hold the current session's materials and be moved when the room changes use. Choose one that is comfortable to lift when full. Include a small place for offcuts or loose ends so they do not scatter through the room. Protect the work surface with an appropriate mat where needed, and store it close enough to use every time.
Leave equipment to cool, dry or cure as its instructions require before packing it away. A quick tidy should not mean closing damp paint tools or hot equipment inside a box. The portable kit needs a designated parking place that does not block access to everyday household belongings.
Shop from the project, not the gap
Before buying supplies, check the current project requirements against the collection. Keep a short note of genuinely missing materials instead of purchasing another pack because the first is difficult to find. Sort leftovers after a project ends, retaining useful pieces in clear categories and disposing of unusable material appropriately. If a container is full, review its contents before adding another. Craft storage should preserve the pleasure of making while keeping setup and clearing away proportionate to the time available.
Keep each active project together and let material size, care needs and actual use determine the wider storage.
A Swishover guide · Practical ideas to adapt to your own home.
Spotted something we should improve?