Notice what prevents you from starting
A lack of space can be a real obstacle, but sometimes the difficulty is the number of steps before the enjoyable part begins. The paints are in one cupboard, the paper in another and the table is covered with unrelated things. Count those steps for your own hobby before deciding that a dedicated room is essential.
Think about the length of sessions you actually have. A system that works for a whole Saturday may discourage a brief evening session. Aim to make a small amount of useful progress possible, whether that is cutting one pattern piece, practising a passage or arranging materials for the next stage.
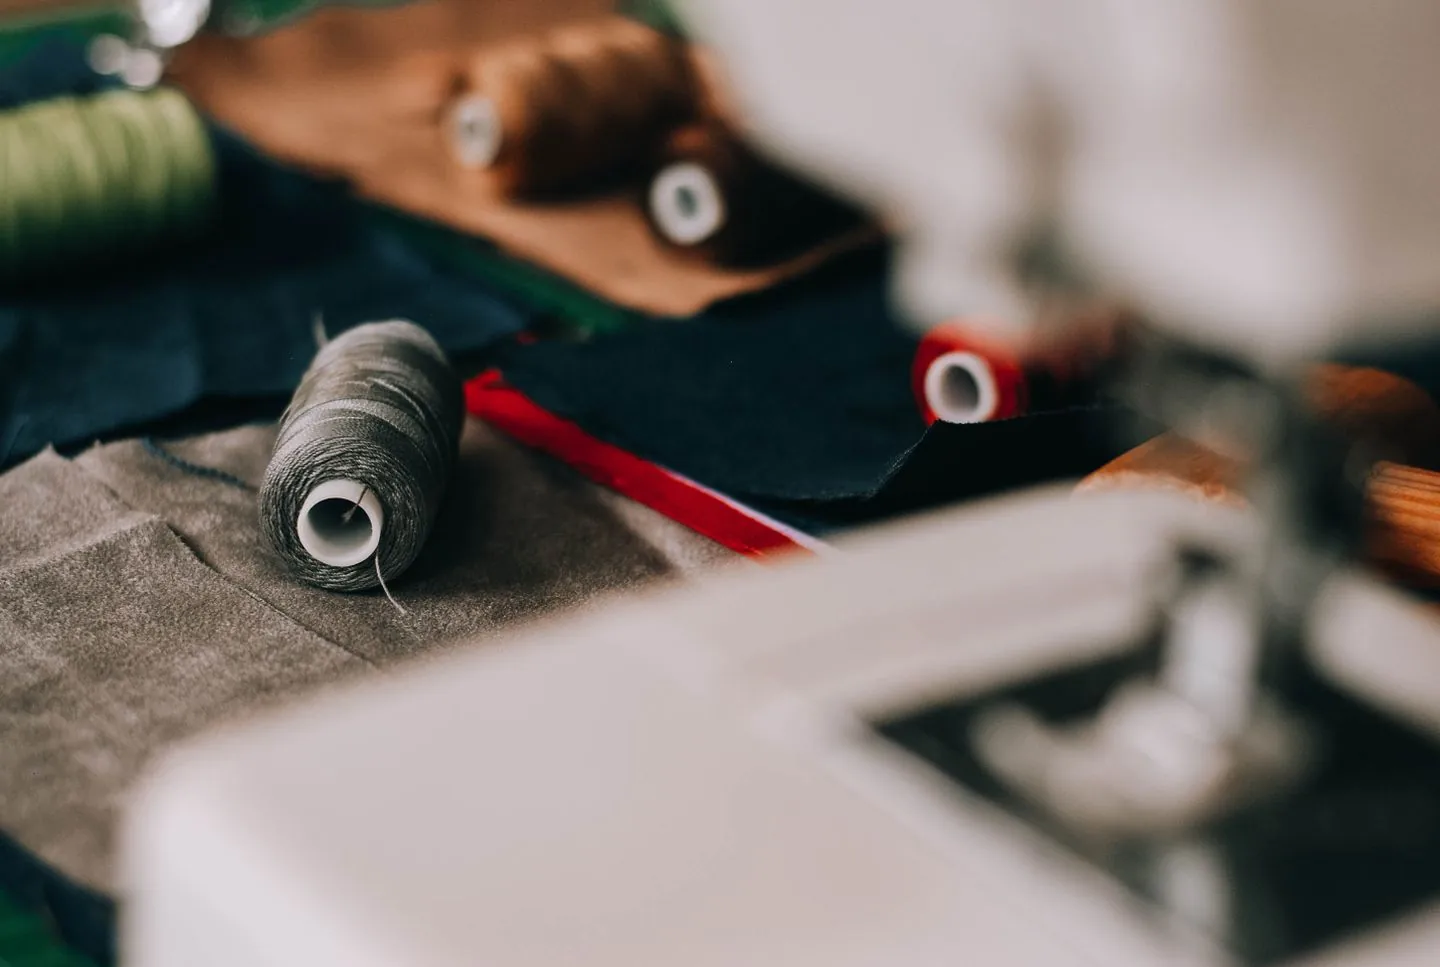
Keep the working kit together
Gather the tools used in nearly every session and give them one accessible home. This might be a portable box, a drawer or a shelf beside the working place. Separate them from spare supplies and specialised equipment so the everyday kit stays easy to handle.
Choose storage appropriate to the materials. Paints, sharp tools, adhesives and other potentially hazardous items need their own care and access arrangements, particularly in a shared home. Follow product guidance rather than treating all craft supplies as interchangeable objects that can safely sit in an open basket.
Reserve a surface by time or by place
A permanent workbench is useful for some hobbies, but a shared table can work when its availability is understood. Agree when it can be used and how it will be returned to other activities. Protect the surface appropriately and keep food preparation areas suitable for their primary purpose.
If the hobby produces dust, fumes, heat or significant noise, a convenient table may not be a suitable location. Follow the activity's safety requirements and seek specialist guidance where needed. The goal is to make the hobby easier to practise responsibly, not to squeeze it into a space that cannot support it.
Leave a clear next step
Before finishing, note what comes next. A short label on a project box or a notebook entry can prevent the next session from beginning with a long effort to remember decisions. Keep the active materials together, with delicate or drying work protected in a suitable way.
For hobbies with many small pieces, take a reference photograph if it helps preserve an arrangement before putting it away. The photograph should support the work, not become another elaborate documentation task. A simple record of where you stopped can be enough to make returning feel inviting.
Give unfinished work a limit
One or two active projects may fit comfortably where a dozen become difficult to manage. Decide how much space unfinished work can occupy, and review it when that space is full. Some projects can be paused deliberately with their materials labelled; others may no longer be worth continuing.
Avoid measuring success by the amount of equipment on display. A modest, frequently used kit supports a hobby better than shelves of supplies that make choosing the next step harder. Keep room for your interests to change, and do not let the storage system become more demanding than the activity itself.
Make clearing part of the session
Allow time to clean tools, secure materials and return the shared surface. That makes the next start easier and helps a hobby coexist with the rest of the household. A clearing routine should be short enough that it still happens when the session ends later than expected.
If tidying repeatedly takes longer than the useful work, simplify the kit or reduce the area in use. The best hobby space is not necessarily permanent or photogenic. It is one that lets you begin willingly, work comfortably and stop without making the next session harder.
Keep the next session ready, with materials contained and the first task obvious.
A Swishover guide · Practical ideas to adapt to your own home.
Spotted something we should improve?