Count the current pairs
Start with the shoes that genuinely need to be near the door this season. Include different sizes and shapes rather than counting every pair as identical. Boots, trainers and small children's shoes use shelves differently. Store occasional footwear elsewhere if suitable, so the entrance does not have to hold the household's complete collection.
Notice how many pairs are usually out at once. A rack that is already full on delivery leaves no room for ordinary changes in routine. Some spare capacity is useful, but a much larger unit may obstruct the entrance unnecessarily. Choose the smallest arrangement that comfortably supports current use rather than a theoretical maximum collection.
Measure the shoes themselves
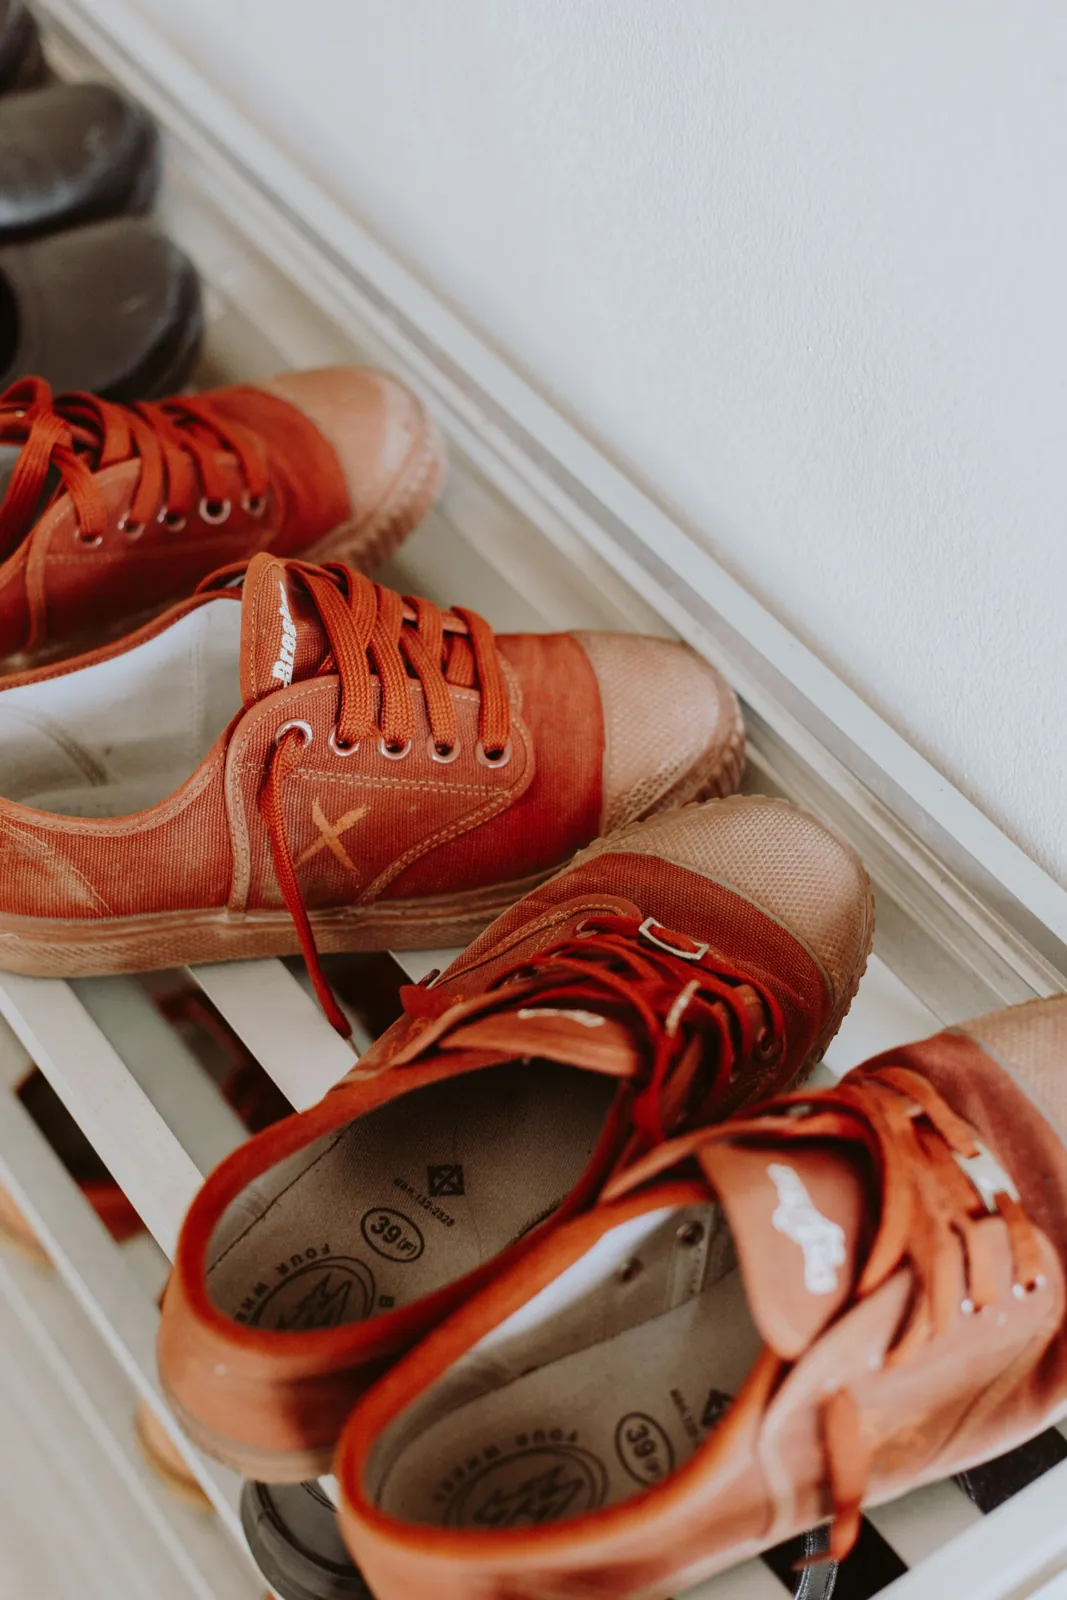
Check the depth and height of the largest regular pair. A rack advertised by pair count may assume smaller or differently shaped footwear. Open slatted shelves can also behave differently with narrow heels or small shoes. Look at the usable support surface and whether each type of footwear sits securely without dropping or tipping between gaps.
For adjustable shelves, check the available positions and the product's stability requirements. Boots may need a separate appropriate place rather than forcing the entire rack into an awkward configuration. The arrangement should make returning shoes easy, not require precise packing every time someone comes home.
Keep the door and route clear
Mark the rack's full footprint, including projecting feet or handles. Open the front door and nearby cupboard doors, and walk through carrying a bag. Test the entrance with shoes slightly pulled forward, because that is how a rack may look during use. A setup that works only when every toe is perfectly aligned is unlikely to stay convenient.
Check any building rules for shared areas and keep access and escape routes unobstructed. Storage may need to sit inside another suitable part of the home rather than immediately beside the door. The most obvious location is not always the safest or easiest place for the amount of footwear involved.
Think about wet and dirty shoes
The rack and floor beneath need to tolerate the way footwear arrives. Follow care guidance and allow shoes to dry appropriately rather than enclosing damp pairs in unsuitable conditions. A suitable removable tray may help contain dirt or water where the floor and rack design allow it. Empty and clean it as needed rather than leaving moisture trapped underneath.
Choose surfaces that can be maintained realistically. A rack with many small crevices may require more effort than a simple design. Natural materials, coatings and metal finishes all have particular care needs. Do not assume that an entrance product is automatically suitable for prolonged standing water or outdoor exposure.
Check stability and daily reach
Assemble and secure the rack as instructed, especially where a taller unit requires restraint. Do not treat an ordinary rack as a seat or step. If sitting to put on shoes is important, choose furniture explicitly designed for that role or provide a separate suitable seat with enough room around it.
Make everyday pairs easiest to reach
Finish by considering who will use each shelf. Frequently worn pairs should be easy to reach, and children's storage should suit their abilities without encouraging climbing. A good shoe rack makes the entrance easier to cross and the next pair easier to find. That everyday result matters more than an impressive advertised capacity.
A shoe rack works when it fits actual footwear and leaves the entrance clear in daily use.
A Swishover guide · Practical ideas to adapt to your own home.
Spotted something we should improve?